Multi-factor authentication (MFA) is an essential part of internet security, but when using OTP generators you run the risk of account lockout if you lose access to your device. Authy allows you to backup your encrypted secrets to their servers, but I like maintaining backups of my own, just in case. Currently, there is no easy way to do this as Authy does not allow you to export your secrets from their app. One option is to reset MFA on all the sites you use and record the OTP secrets manually before importing them into Authy, but this is tedious. Instead, I found a way to intercept and decrypt the secrets directly from Authy.
Follow this guide at your own risk. I am not responsible for any damages or lost data.
Capture Encrypted Secrets
This guide is intended for Android, however, the steps are very similar for iOS.
If you have a rooted device, you can directly access the OTP secrets Authy stores in /data/data/com.authy.authy/ using an adb shell.
On non-root devices this data is inaccessible, so we will use a man-in-the-middle attack to intercept the traffic from Authy while restoring a backup. To start we will need to install mitmproxy using pip.
pip install mitmproxy
Next, we need to install the mitmproxy CA certificate on the device so that it can intercept HTTPS traffic. Copy the certificate from ~/.mitmproxy/mitmproxy-ca-cert.cer to your device. Then on your device go to the Security menu in your system settings, and under Credential Storage select Install from device storage. Install the mitmproxy certificate using the name mitmproxy-ca-cert, and leave the rest of the settings default.
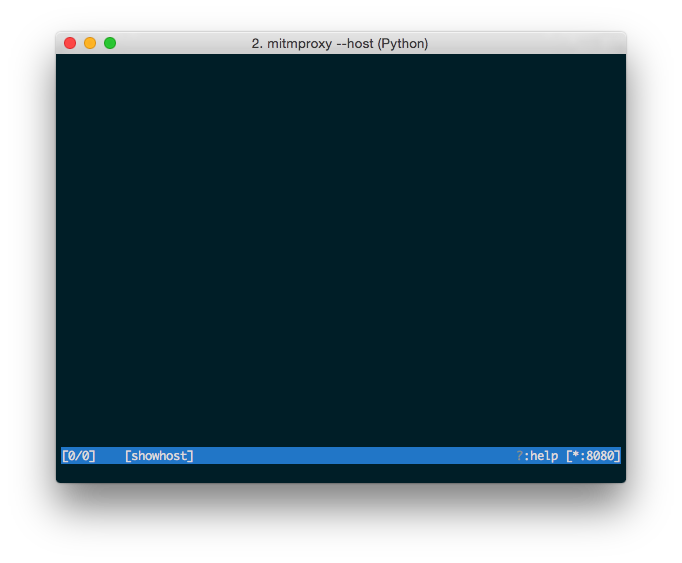
Now we can start the proxy server.
mitmproxy --host
Note the port in the bottom right of the window (default is 8080), as well as the local IP address of the computer running the mitmproxy instance.

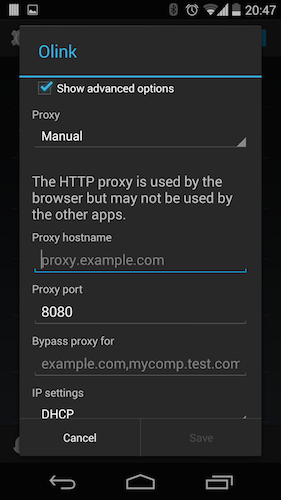
With the server is running return to your device. Go to the WiFi menu in your system settings, then long-press your WiFi network to edit it. Under Show advanced options, set Proxy to Manual, then use the IP address and port noted above as the proxy hostname and proxy port respectively.

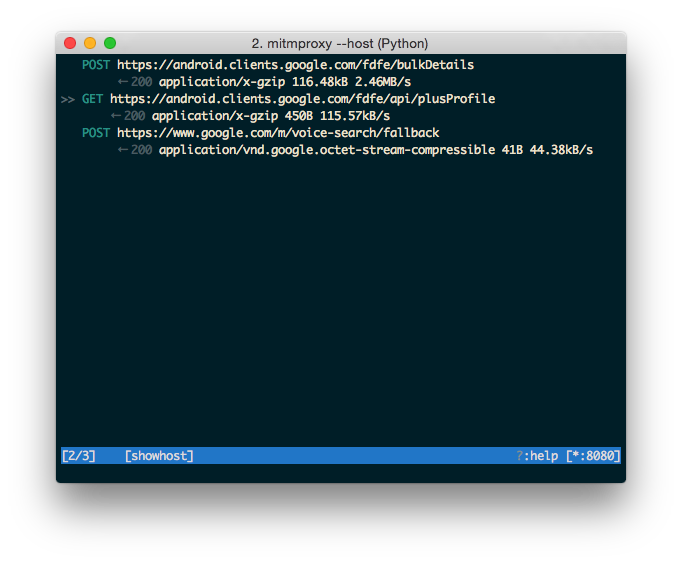
You should now be ready to capture traffic from your device. You can test this by going to a webpage or loading an internet-dependent app.

To capture the Authy data, we need to force the app to restore its data from a backup on the Authy servers. To do this, we need to perform a fresh setup by clearing the app data in the App info menu.
Now begin the capture in mitmproxy and set up the app. The request we are looking for is a POST request that happens right after the phone verification step, and will have a response body like this:
"authenticator_tokens": [
{
"account_type": "gmail",
"encrypted_seed": "[redacted]",
"name": "My Gmail Account",
"original_name": "Google:[email protected]",
"salt": "[redacted]",
"unique_id": "0000000000"
},
{
...
}
...
]
Save the response body and shutdown mitmproxy. You can also revert all the changes to your device including deleting the CA certificate and removing the proxy settings from your WiFi.
Decrypt Secrets
The secrets captured in the response body are encrypted. Luckily, Authy provides a detailed overview of how they encrypt their backups. This small Ruby snippet takes an encrypted secret, decrypts it, and prints out the result. Authy claims to have a different IV for each account, but the following code works with a zeroed-out IV.
require 'openssl'
require 'base64'

class AuthyDecryptor

    def initialize(password)
        @password = password
    end

    def decrypt(raw_seed, salt)
        encrypted_seed = Base64.decode64(raw_seed)
        cipher = OpenSSL::Cipher::AES.new(256, :CBC)
        cipher.decrypt
        cipher.key = OpenSSL::PKCS5.pbkdf2_hmac_sha1(@password, salt, 1000, 32)
        puts cipher.update(encrypted_seed) + cipher.final
    end

end

ad = AuthyDecryptor.new('your_authy_password')
puts ad.decrypt('your_secret')
Once the secret has been decrypted, it can be stored and reused as needed. If your OTP app requires a QR code, the secret can be used to create a new one using a trusted QR generator.